Tis the season for bright lights and holiday cheer. Here are some tips for photographers to creatively capture the spirit of the season.
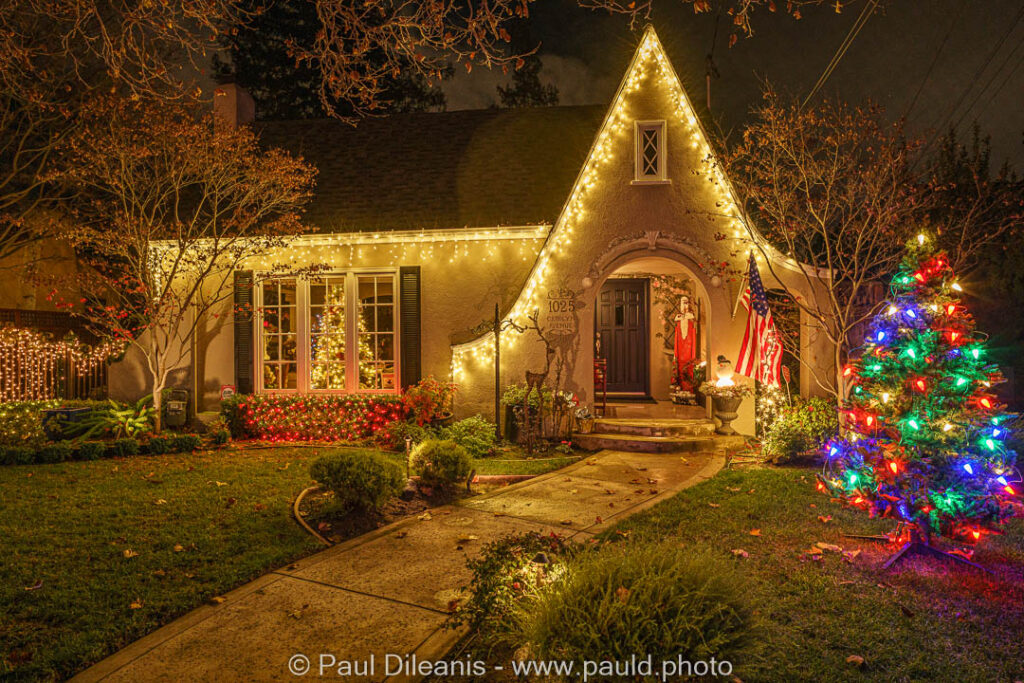
Gear Required To Shoot Holiday Lights
The gear required to shoot Holiday lights is very minimal. Here is a list of gear that I recommend.
- A Camera that can shoot in manual mode
- A wide angle lens to capture night street scenes.
- A zoom lens if you want to try to capture zoom burst images.
- A faster lens with wide aperture in the range f/1.2 to f/2.8 for creating holiday light bokeh effects
- A tripod for long exposure photographs
- A cable release to avoid camera shake due to shutter release. If you do not have one, use the timer delay feature in the camera
Camera Settings For Photographing Holiday Lights
The best time to photograph Holiday Lights is the blue hour or at night. Having a good understanding of exposure will enable you to determine the correct camera settings for the right exposure.
ISO
Since the lighting conditions you encounter can be varied and sometimes extreme, choosing an ISO will depend on the camera, the effect you are trying to achieve and whether you will be using a tripod or not. Lower ISOs will give you the best color and detail but may require a slow shutter speed. For handheld shots you will want to use a higher ISO (800 to 1600) for a faster shutter speed. For older digital cameras try to keep the ISO below 800. Newer Digital cameras, especially those with full frame sensors can handle ISOs of 1600 and higher.
White Balance
In the past Holiday lights were made with tungsten filaments that created a warm glow and it was best to choose the tungsten or incandescent white balance settings. With todays LED technology the white balance becomes a bit trickier. Not only are LED lights colder (more blue) they can also change color during your exposure. I usually shoot RAW images in daylight or AWB. Shooting in RAW allows more creative control in post processing. For shooting in JPEG try AWB to start with but don’t be afraid to experiment with different white balance settings to get the color and mood to the image you are trying to create.
Aperture and Shutter Speed
Shoot in the manual mode to create the desired bokeh or motion effects. When you are shooting for bokeh (wide aperture) or motion effects (slow shutter speed) the ISO and aperture or shutter speed will need to be set accordingly.
Note: It is a good idea to become familiar with the exposure triangle and equivalent exposures when attempting night and low light photography.
The sample camera settings I have included will give you a starting point. You may need to change some settings depending on the scene and intensity of the lighting.
Street Scenes
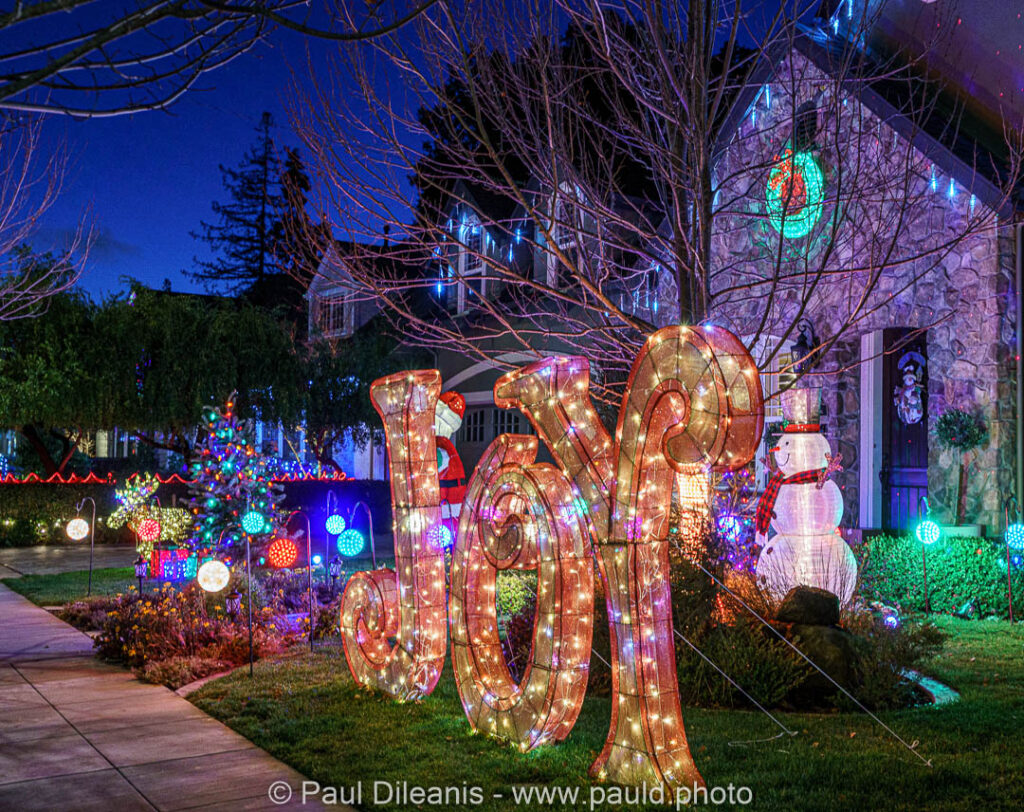
Use a tripod if possible for best results. Using a tripod allows you to use a low ISO for the best detail and color. As mentioned previously shooting during the blue hour will give you some detail in the sky
Sample settings for street scenes (Use a tripod)
| Camera Mode | Manual (M) |
| Aperture | F/5.6 |
| Shutter Speed | 1 second |
| ISO | 800 |
| White Balance | AWB or Daylight |
| File Format | Raw format preferred |
| Focal Length | Wide angle |
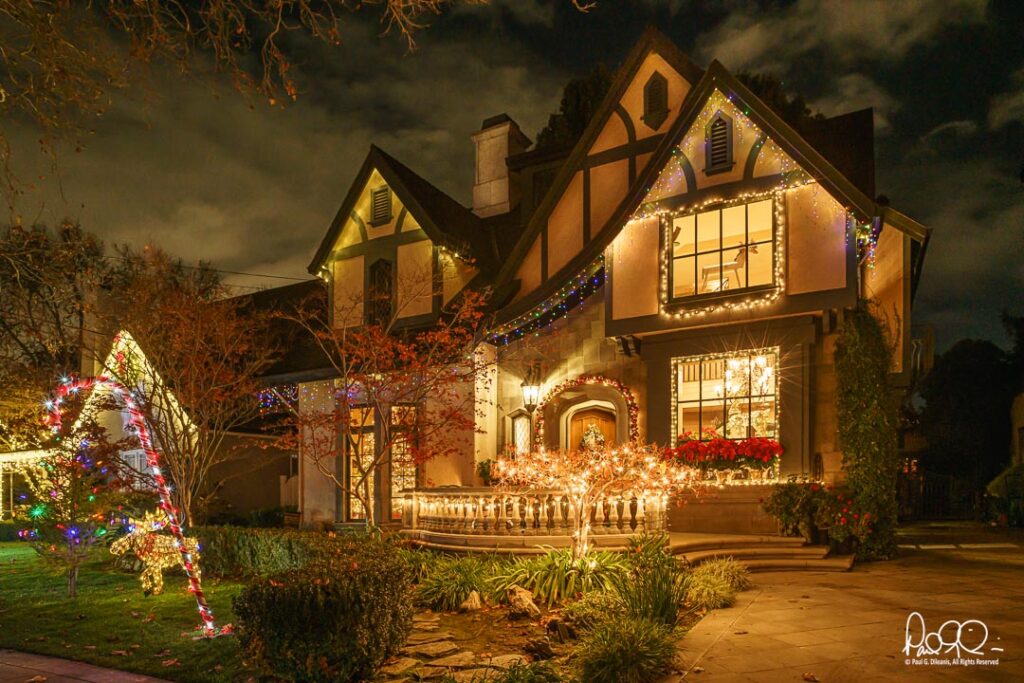
Holiday Bokeh Effects
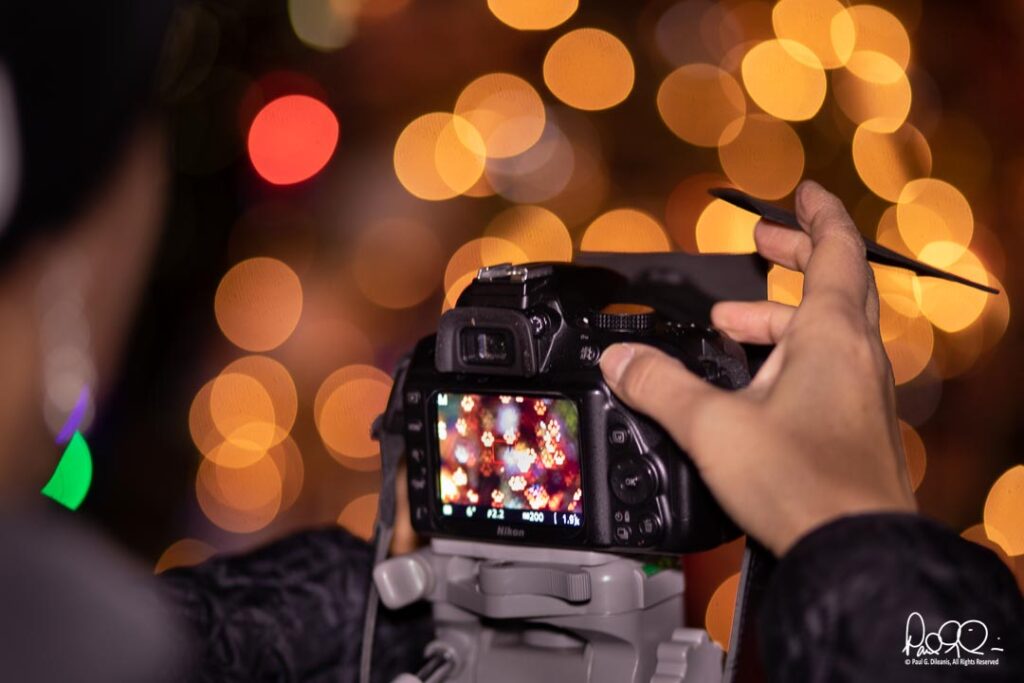
Best Lens for Photographing Holiday Bokeh
In order to create images that have beautiful bokeh, it is best to have lenses that have aperture values ranging from f/1.2 to f/2.8. These are the aperture values that can create high-quality, stunning bokeh.
That does not mean that the other lenses with narrow apertures like f/3.5 or f/4 should not be used. You can create bokeh with these lenses by carefully choosing the distance between you and the subject and the subject and the background. All lenses create bokeh that is characteristic of their build.
One of the best and most affordable lenses for creative bokeh is the 50mm f/1.8 lens as this lens is fast, produces sharp images and can produce stunning bokeh. This lens can be used to photograph almost anything like Holiday decorations, portraits, still life, etc.
The Best Camera Settings For Holiday Lights Bokeh
When it comes to camera settings, it is always advisable to shoot in manual mode. Set the lens aperture to the widest (this is different for each lens). For example, for the 50mm f/1.8 lens, set the aperture value to f/1.8. Shooting at the widest aperture helps with a few things like creative bokeh, letting more light in so you can use a lower ISO and faster shutter speeds. If you are shooting in low light and handheld, it is better to have a shutter speed faster than 1/125 of a second.
Make sure you consider the crop factor while calculating shutter speed and use the image stabilization features if any.
Depending on the aperture and shutter speed that you have chosen, adjust the ISO to get the exposure right. A good knowledge of the exposure triangle will help you get the exposure settings right. Do not forget to also keep an eye on the histogram if your camera has that option, so you can make sure that you have not blown out highlights or lost details in darker regions.
Sample settings for Bokeh effects (Hand Held)
| Camera Mode | Manual (M) |
| Aperture | F/1.8 |
| Shutter Speed | 1/200 second |
| ISO | 400 |
| White Balance | AWB or Daylight |
| File Format | Raw format preferred |
| Focal Length | 50mm to 100mm |
How To Shoot For The Bokeh
To get decent bokeh of holiday lights, make sure that you maintain a decent distance between you and the subject and between the subject and the background.
If you are too close to the subject, the bokeh may become too creamy without defined features of the Holiday lights, similarly, if the subject is too close to the background which is the Holiday lights in our case, then there will not be the desired amount of bokeh.
Photographing Just the Bokeh
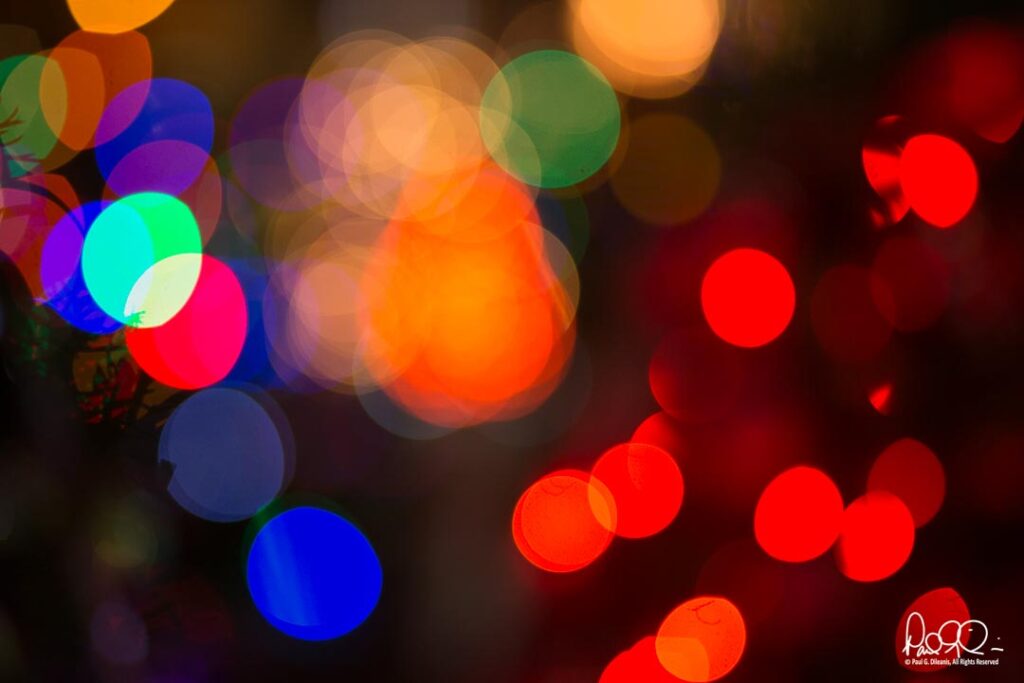
Look for compositions and subjects where you can photograph just the bokeh. In the image below, only the bokeh has been photographed creating a colorful pattern of circles.
Experiment With Creative Bokeh
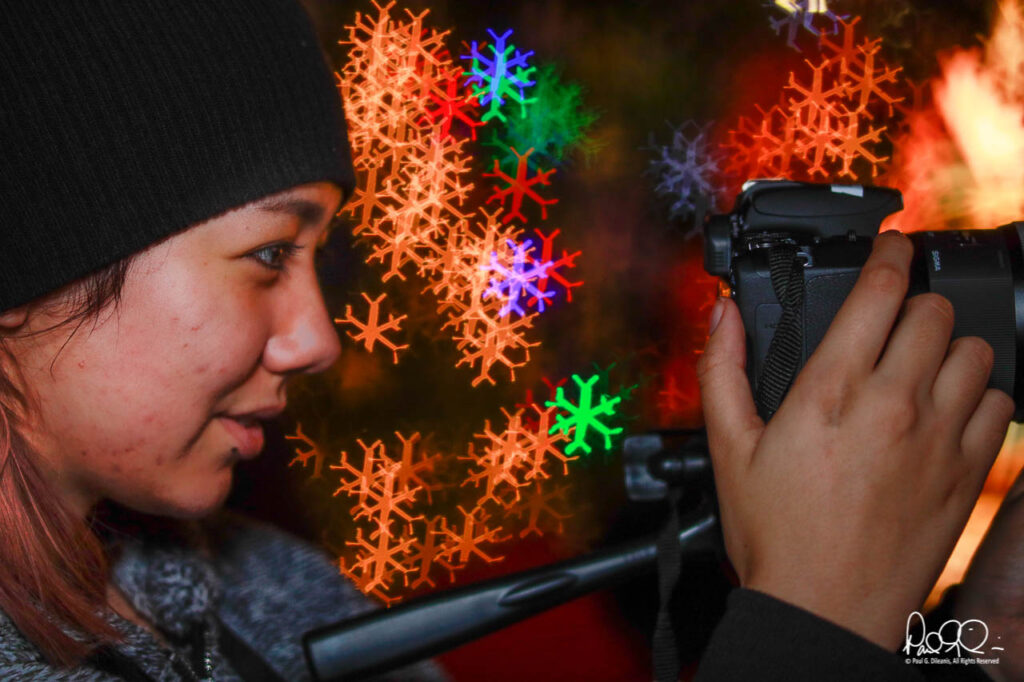
Holiday time is the best time to try creative bokeh images. Apart from the normal bokeh you get out of your lens, you can use a bokeh kit to create different shaped bokeh like a heart, a Holiday tree, a star, snowflakes, etc. If you do not want to invest in a kit try making one yourself.
How to make your own holiday bokeh masks: Take a thick piece of paper and draw an outline of the lens you will be using. Cut out this circle, fold it into half and cut out the shape you need. This way you know that the shape is symmetrical on both sides and helps with cutting out the shape easily as well.
You can use blue-tack around the rim of the cut out circular paper to stick it to the front of the lens. This works best with a lens such as a 50mm or 85mm f/1.8.
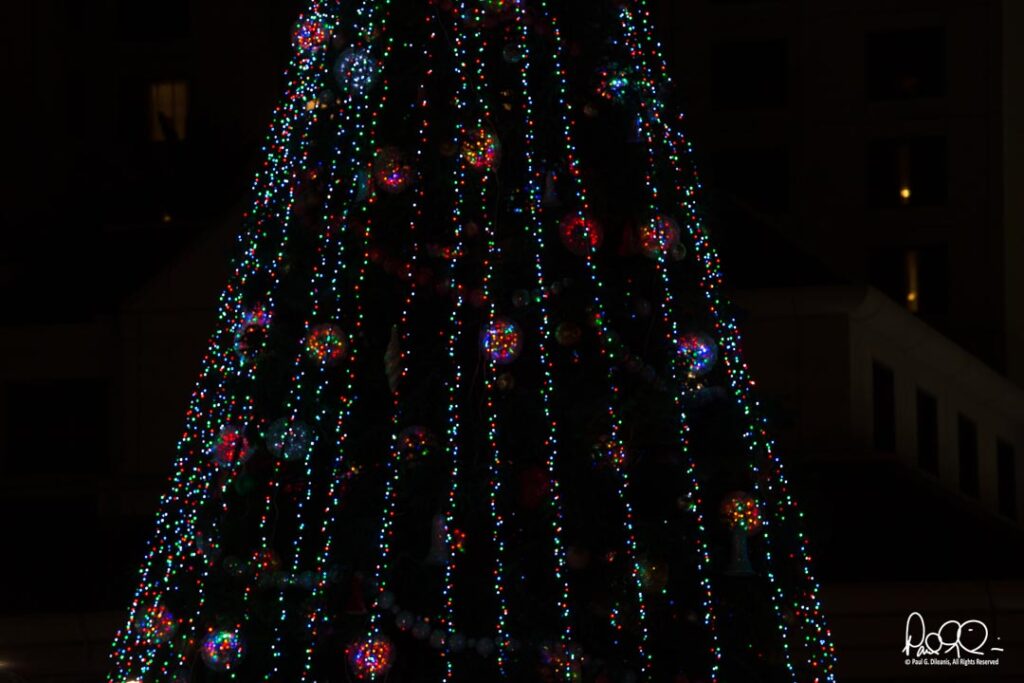
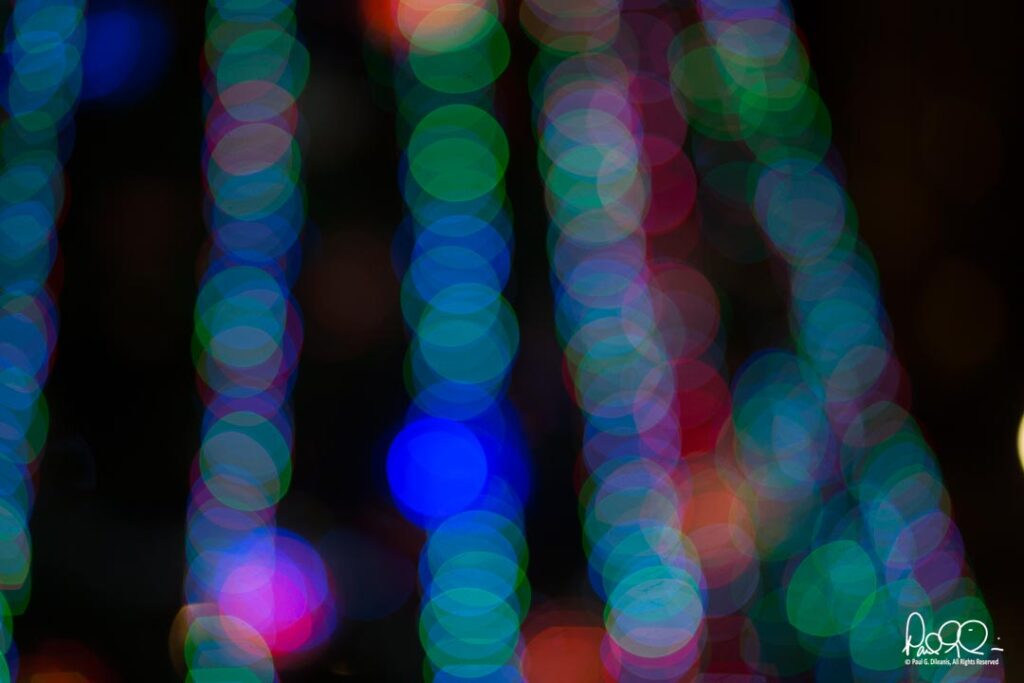
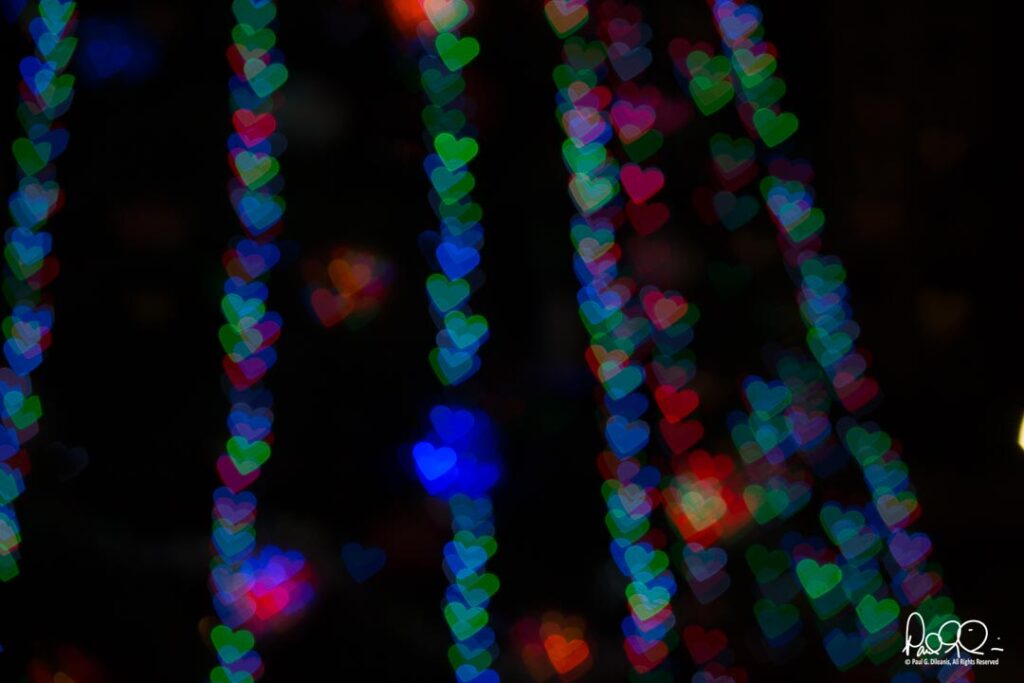
| What Is Bokeh? Bokeh is as term used to describe the out of focus areas in a photograph – Bokeh means blur in Japanese – it helps create visual appeal in your photographs and makes the subject stand out. The type of bokeh you achieve depends on the type of lens and the aperture value that you will be using. |
Zoom Burst Effect
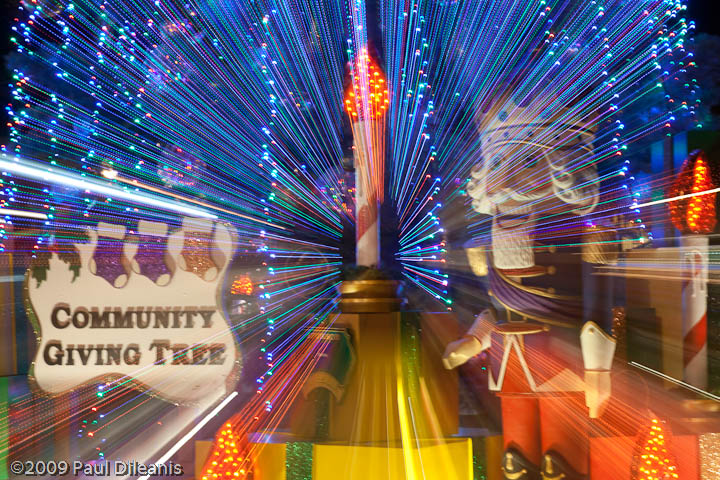
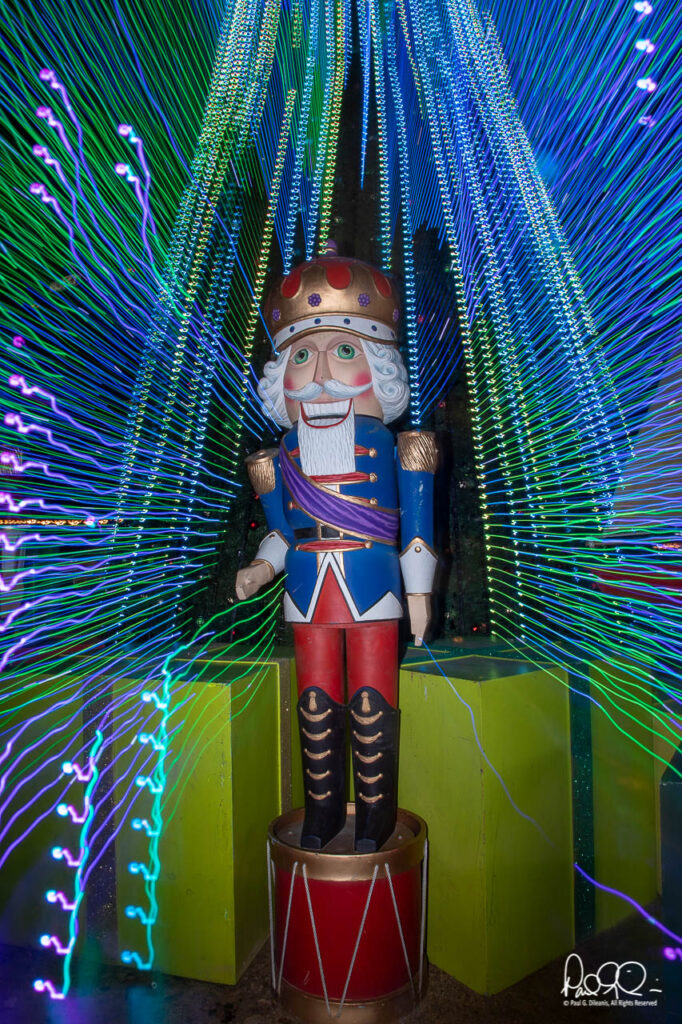
For zoom burst effect, you will need to use a zoom lens and to have your camera on a tripod for best results. This is a long exposure technique where you put the camera in manual mode, compose the image and you rotate the zoom ring while the shutter is pressed. The trick here is to use a long exposure such as 2 seconds. After you press the shutter release wait about 1 second (half of the shutter speed time) before zooming the lens.
Sample settings for Zoom burst effects
| Camera Mode | Manual (M) |
| Aperture | F/16 |
| Shutter Speed | 2 second |
| ISO | 100 |
| White Balance | AWB or Daylight |
| File Format | Raw format preferred |
| Focal Length | Zoom lens |
Adding Light: Using a Flash or LED light panel
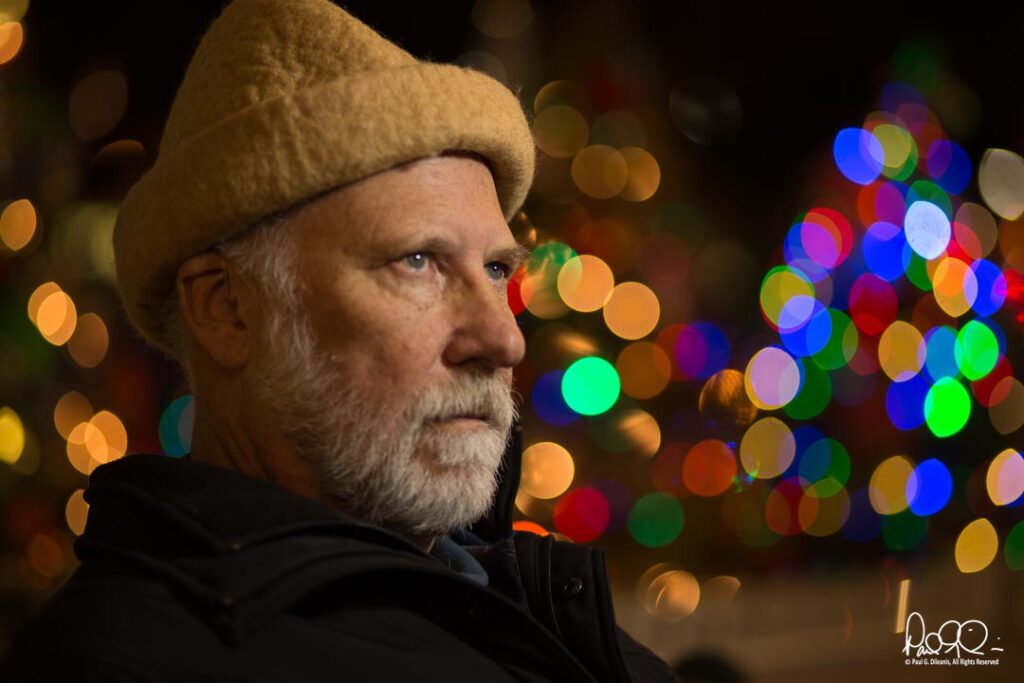
The general rule of thumb is to avoid using a flash when photographing holiday lights. A flash improperly used will tend to blow out the foregrounds and will not have enough power to cover a large area. However, there are times when additional light may be needed to light up a foreground subject. For example, when you are photographing people in front of light displays and don’t want them to be silhouettes. When this is the case a flash or LED video panel used wisely is a valuable tool.
Safety and Good Manners
Finally use safety precautions when shooting at night. If you are shooting in unfamiliar locations bring a friend (or friends). There is safety in numbers. Always pay attention to your surroundings. Bring the minimum amount of equipment that you will need. You will often be photographing around large crowds and you will want to keep track of your equipment. Do not leave camera bags unattended. I always use a shoulder bag that I can wear at all times.
And speaking of crowds, remember to be courteous to others that are present to enjoy the Holiday Spirit. Do not set up tripods where they will be a hazard to others, do not shoulder young children out of the way to get a better angle or hog the view.
Now, go out and have a great time taking holiday photos.
Happy Holidays!