
“No sight is more provocative of awe than is the night sky.” – Llewelyn Powys
Meteors and meteor showers are some of the most exciting events you can see in the night sky. There is something magical about seeing a meteor streak across the darkness. It is a fleeting moment that leaves a lasting, brilliant stamp in your memory. Whether you are a seasoned astrophotographer or a complete beginner, with the right preparation and knowledge, you can capture that magic. Read on to discover how to create stunning images of the night sky that inspire and captivate.
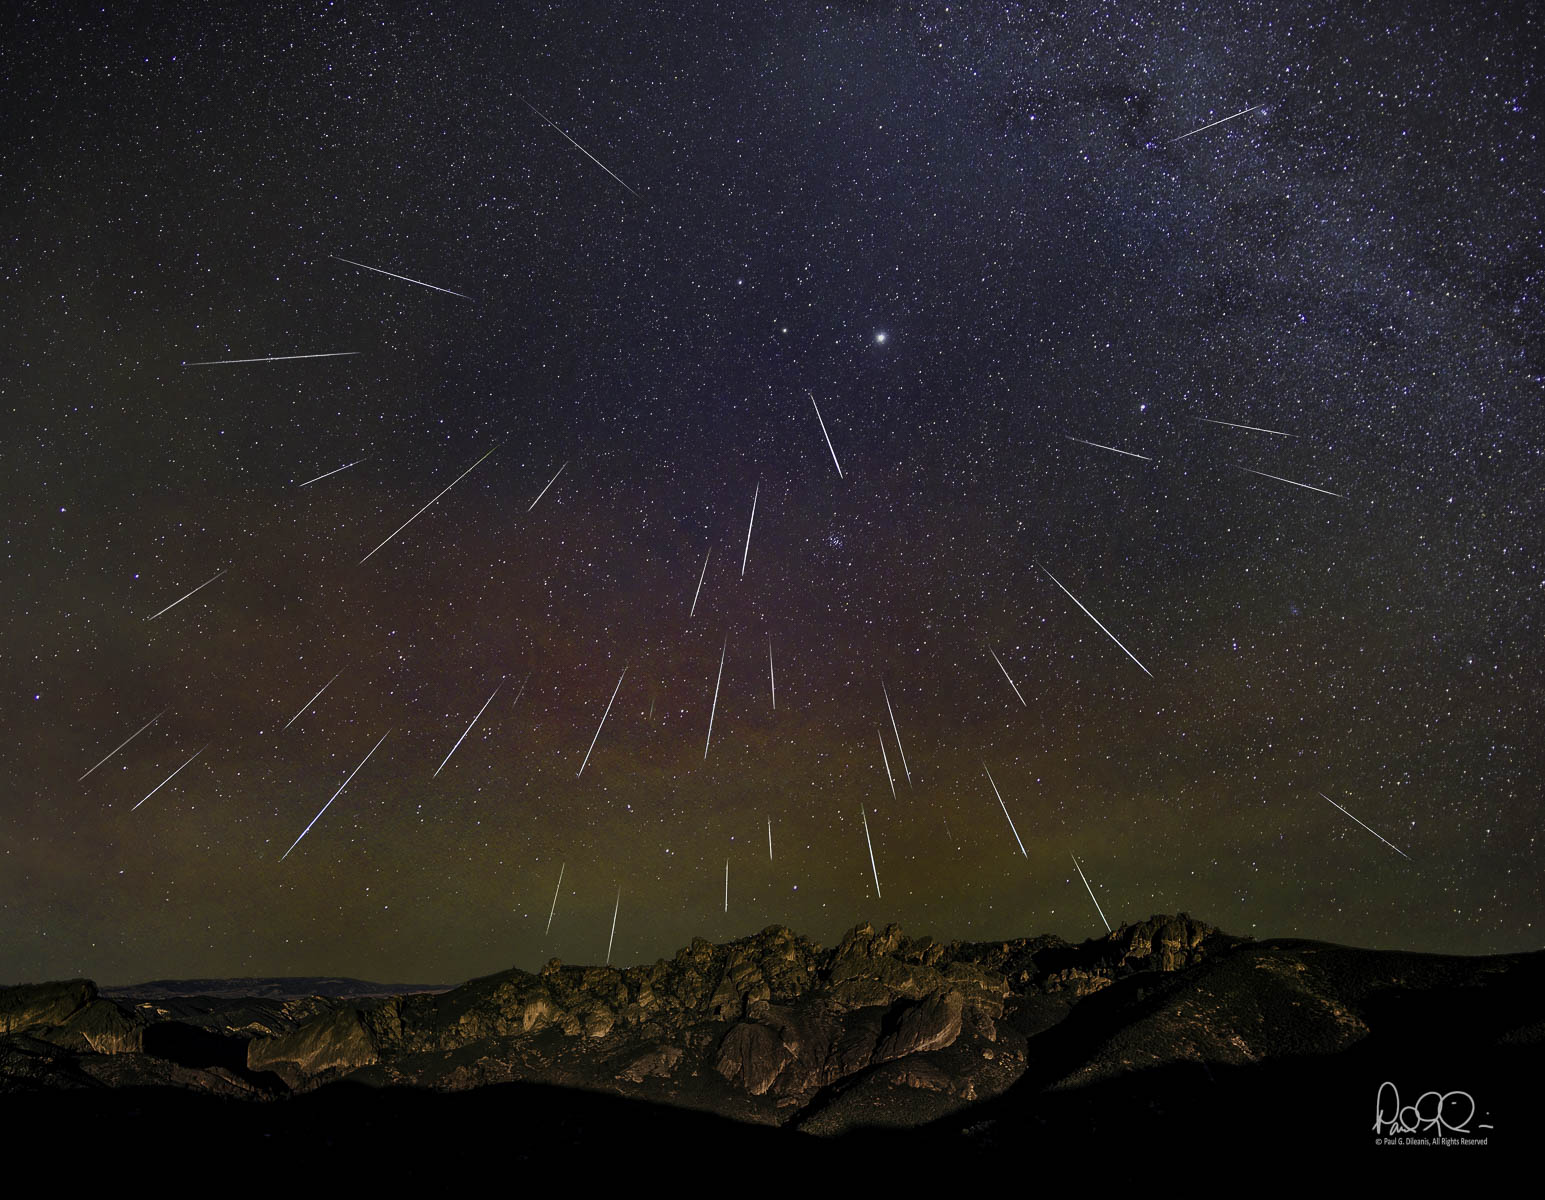
On the night of December 13th, I joined several photographers from the Los Gatos Saratoga Camera Club and Sunnyvale Camera club at Pinnacles National Park. The goal was to capture the yearly Geminid Meteor Shower display above the dramatic High Peaks. It was a successful night. The skies were clear and the Geminids put on a spectacular show. The meteors were joined by a phenomenon known as airglow that suffused the night sky with a red glow. This was the most intense red airglow I have encountered. The airglow created a dramatic sky and gave this meteor shower a unique look. Many photographers will try to minimize or remove airglow from their images. I have learned to embrace its aura as creating a mood and atmosphere distinctive to that night.
The purpose of this post is not to be the definitive guide to meteor photography. My purpose is to introduce you to the basics of meteor photography; The objective is to inspire you to get out and explore the night sky with your camera. Whether you take a workshop or decide to do it on your own I hope you find the following information and links helpful.
Geminids
Why the Geminids? While there are many meteor showers throughout the year, the Geminid meteor shower is one of the most reliable and spectacular meteor showers. It peaks annually around December 13-14, with the potential to see over 100 meteors per hour. The Geminid meteor shower is unique among celestial events as it originates not from a comet but from the asteroid 3200 Phaethon. It is named the Geminids because the meteors in this shower appear to originate or radiate from the constellation Gemini.
Airglow
Just a quick note to explain airglow before moving on with the meteors. This atmospheric phenomena is visible under clear, dark skies away from urban light pollution. Airglow gently illuminates the night sky with a diffuse glow, usually in green or red shades. Red airglow originates from OH (hydroxide) molecules excited by ultraviolet light from the Sun. Orange and green airglow is caused by sodium and oxygen atoms lower in the atmosphere. It is normally too faint to observe when viewed with the eyes alone and may appear as a colorless haze. However, modern digital cameras are capable of capturing the luminous colors of airglow with long exposures.
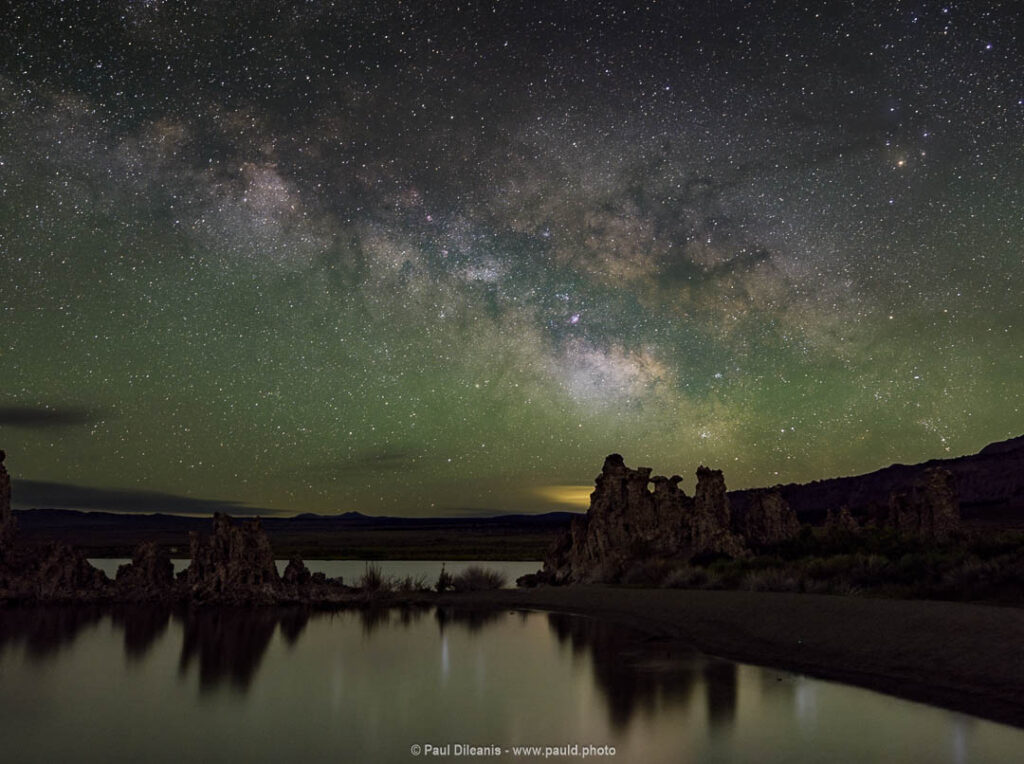
Milky Way with green airglow captured at Mono Lake South Tufa Preserve. Taken June 21, 2025 during the Bodie/Mono Lake Photography Workshop. Canon R5 with RF 15-35mm-f2.8, 15 sec., ISO 6400
To learn more about night sky phenomena that can affect your astro landscape images such as airglow, auroras, zodiacal light and gegenschein check out the links below.
Planning a Meteor Shower Photo Shoot
There are many tools available to the night photographer to help plan a meteor shoot. I use a program called Stellarium to determine where in the sky the meteors will originate, known as the radiant, and to determine when the peak time to capture the maximum meteors will be. Another popular phone app to plan night photography shoots is PhotoPills. Do your research, but keep in mind that these are only predictions and there are many factors such as clouds, a bright moon or light pollution that can affect how many meteors you actually see. If you can, plan on being out several nights. There are sometimes bursts or surges in activity in the days prior to and in the days following the peak. If you are new to meteor or night photography the days leading up to the peak date are good practice and increase your chances of a successful shoot.
There are several prominent showers throughout the year. These include
- Lyrids in April
- Perseids in July and August
- Orionids in October
- Leonids in November
- Geminids in December
The American Meteor Society (see link below) offers a very detailed calendar of current and upcoming meteor showers, including precise measurements for pinpointing the part of the sky where the meteor shower will emerge from, known as the ‘radiant’, and details about the moon phase at the time of the shower’s peak.
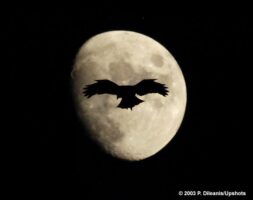
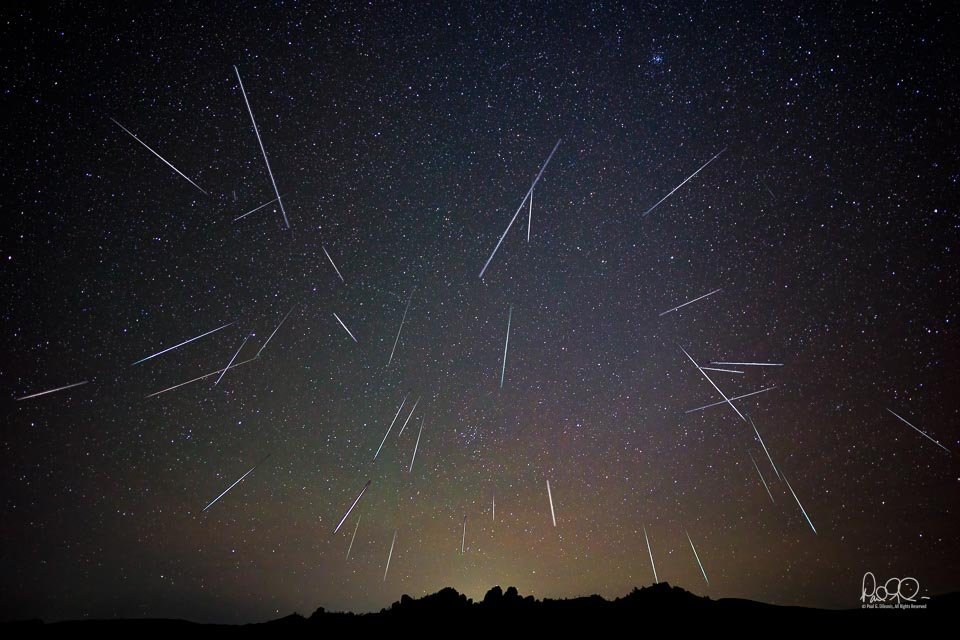
Without aligning the meteors to the radiant, the paths of the meteors will appear random as in this image.
Photographing Meteors
Photographing meteors is similar to taking photographs of the Milky Way. You will need a camera with a fast, f2.8 or larger, wide angle lens, a sturdy tripod, dark skies and a clear night.
The process of catching a meteor on camera is largely a waiting game. You will want to leave the camera on and shooting for many hours to capture as many meteors as possible.
To capture multiple frames, one after another, for an extended period you will need an intervalometer, either as a plug-in accessory or by using the internal intervalometer if your camera model has one.
Another method, if you have a remote release with a lock function, is to set your camera in the continuous (burst) shooting mode. When you press the shutter release button on the remote, slide the locking mechanism into place. The camera will then continue to take one photo after the other until you unlock the release or the camera battery dies.
Bring plenty of spare batteries or if you have a recent model mirrorless camera, you may be able to power the camera with a power bank.
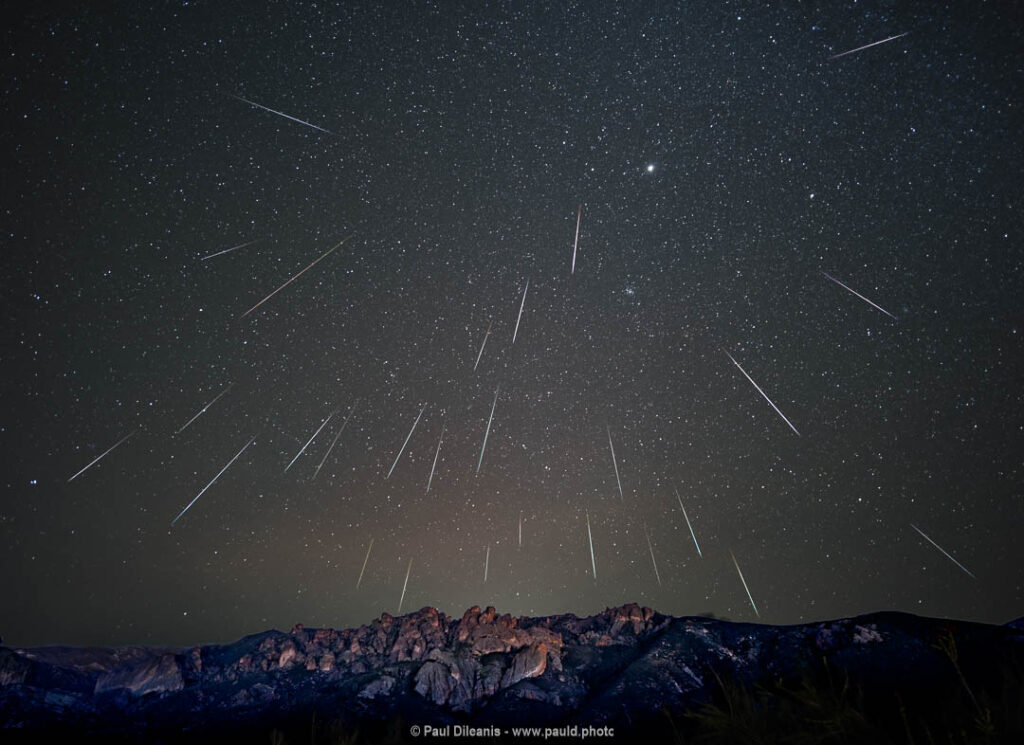
Carefully aligning the individual meteors will result in an image like this where the meteor paths trace back to the radiant. In this case the radiant is the constellation Gemini.
Meteor Shower Photography Tips
- Plan your meteor shower photography session during peak times to maximize your chances of capturing meteors
- Scout for a dark location away from city lights to avoid light pollution
- Use a sturdy tripod
- Use a wide-angle lens with an aperture of f2.8 or faster
- Camera settings
- Start with an aperture of f/2.8
- Use a shutter speed of 15-20 seconds
- Set ISO to 4000
- White balance 4000° Kelvin
- Shoot RAW files
- Turn off the Auto-focus. Manually focus on the stars
- Use gaffers tape on the focus and zoom rings to prevent them from being accidentally moved while shooting
- Incorporate interesting foreground elements to add depth and context to your celestial shots
- Use a red headlamp to preserve night vision while setting camera controls
Post Processing Meteor Shower Images
You can keep it simple by processing a single image of a bright meteor and blending it with a foreground image. If you want to create a composite with many meteors bursting across the sky in one image, the process becomes more complicated.
This is by no means intended to be a complete tutorial on processing meteor images. I recommend taking a class or workshop to get the full experience which would include capturing, processing and one-on-one mentoring. There are also many instructional videos on line such as the one from David Kingham (see link below) that can guide you through the process of creating a stacked meteor image.
Here is a basic outline of the steps that you need to follow to process meteor photographs:
You will come back from your meteor shower photography outing with hundreds or maybe several thousand images. The first step will be to go through all those images and choose the ones that have meteors in them. Make sure they are not satellite, ISS or airplane trails. Hint: Meteors will appear on a single frame with tapered ends while planes and satellites will usually appear on multiple frames in a sequence.
If you are looking to edit a single shot, pick your most amazing meteor and make basic adjustments to the image such as white balance, straightening, cropping, exposure, contrast, whites, blacks, shadows, highlights, clarity, vibrance and sharpness. You can use the dehaze tool to give the image some punch if you see slight haziness. But, be aware that Dehaze will increase noise, darken the image and add blue.
For a composite with multiple meteors you will need to stack the images in an application such as Photoshop. This is a time consuming, complicated process that will result in stunning meteor shower images.
Start by selecting all the best meteor images and apply the same edit settings to all the meteor photos that you are about to stack.
Next select one of the better images with meteors and good foreground details to use as the background frame.
Open the other images as layers and stack them. Mask out all areas except the meteors in each layer. Change the layer mode to ‘Lighten’. All of the meteors should appear. Without aligning the meteors to the radiant, the paths of the meteors will appear random as in the image below.
If you want all the meteors to point at the radiant, you will need to find a reference point on your base image which usually is a prominent star or Polaris if it is in your frame. You will then need to rotate each layer about that reference point to align the stars so the meteors are pointing to the radiant. As before, use masking and changing the layer mode to reveal just the meteors from each layer.
Last, you will need to blend your sky and meteors with your foreground to create your final image.
Helpful Links
Camera Clubs
Join a club to connect with other photographers interested in night photography
Los Gatos Saratoga Camera Club
Planning Apps
Stellarium – Stellarium is a free open source planetarium for your computer. It shows a realistic sky in 3D, just like what you see with the naked eye, binoculars or a telescope.
PhotoPills – Landscape and Night Photography planning app for your phone.
Photo Ephemeris – Landscape photography planning app for phone or computer.
American Meteor Society – detailed calendar of current and upcoming meteor showers
Light Pollution Map – Find a dark sky location near you.
Tutorials
David Kingham – How to create a layered composite meteor shower photo
Air Glow
Atmospheric Optics – Post about airglow formation
Sky and Telescope – Post about Zodiacal Light, Gegenschein, Airglow, and Aurorae’